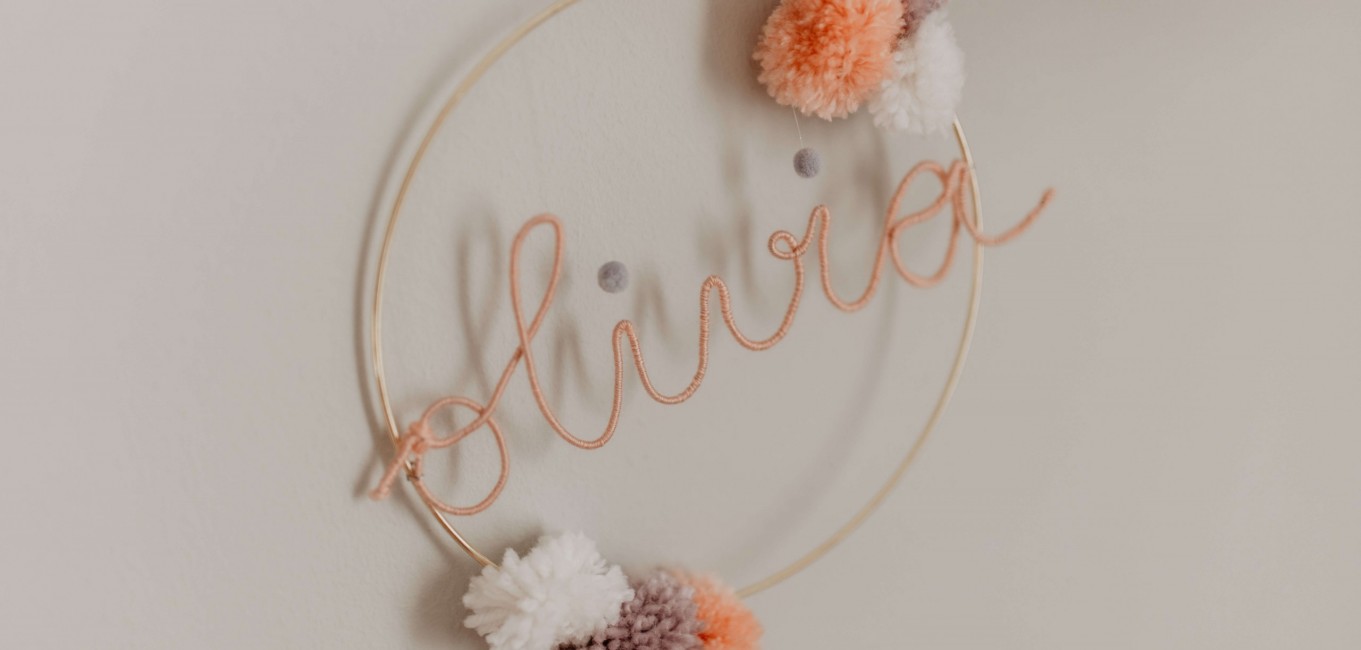
Would you like something special for your child’s room? Then you’ve come to the right place! We’ll give you the craft instructions to make a personalised name circle, which can be used as a decorative object. It’s also perfect to give as a gift to make a new mummy smile. Let’s get started!
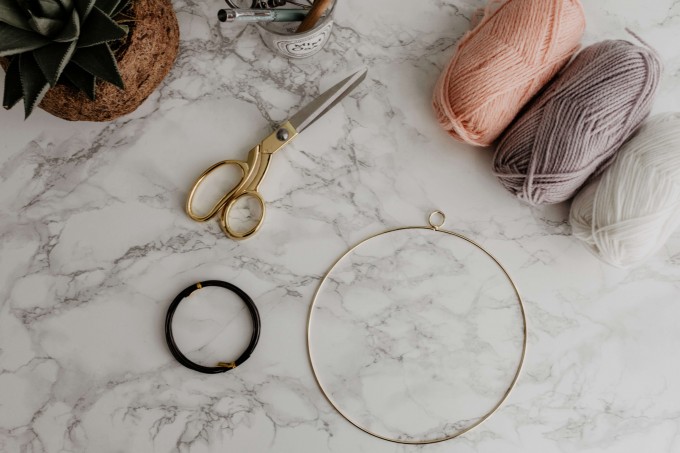
- Copper wire / aluminium wire (thick)
- Craft wire (thin)
- Decorative metal ring
- Wool (3 colours)
- Hot glue gun
- Scissors
Step 1:
First, prepare the template for the lettering. Take your metal ring and trace it on a piece of paper. Then write the name of the child so that it covers the ring from the beginning to the end. Try to write the name in cursive in one go because this will make the next step with the wire easier for you.
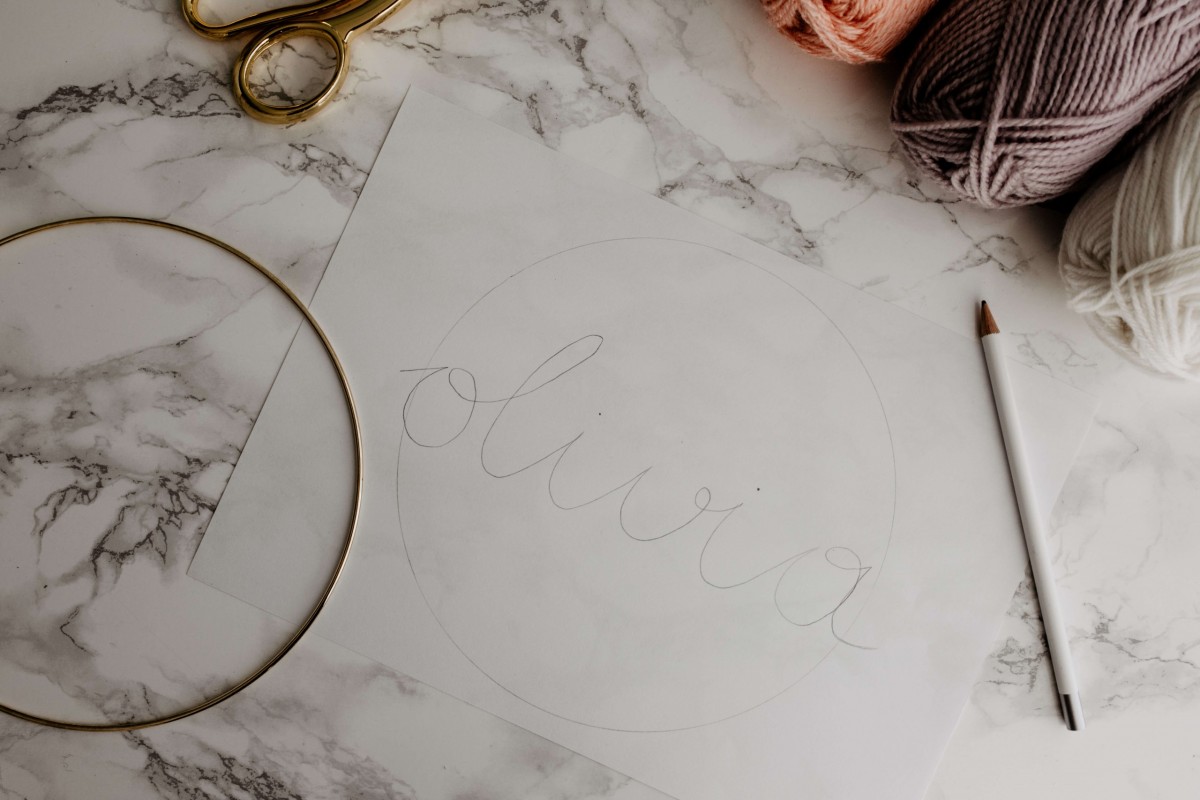
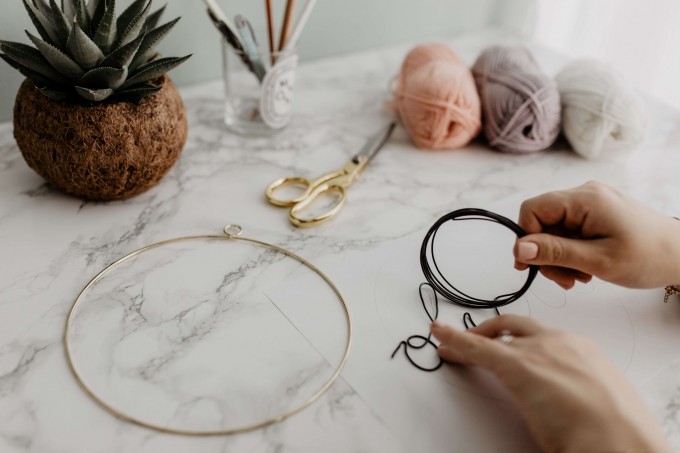
Now try to form the name on the template with the aluminium wire. It’s very easy with the template. You just have to follow the name you have prepared and make sure that the lettering is shaped exactly the same way.
Step 3:
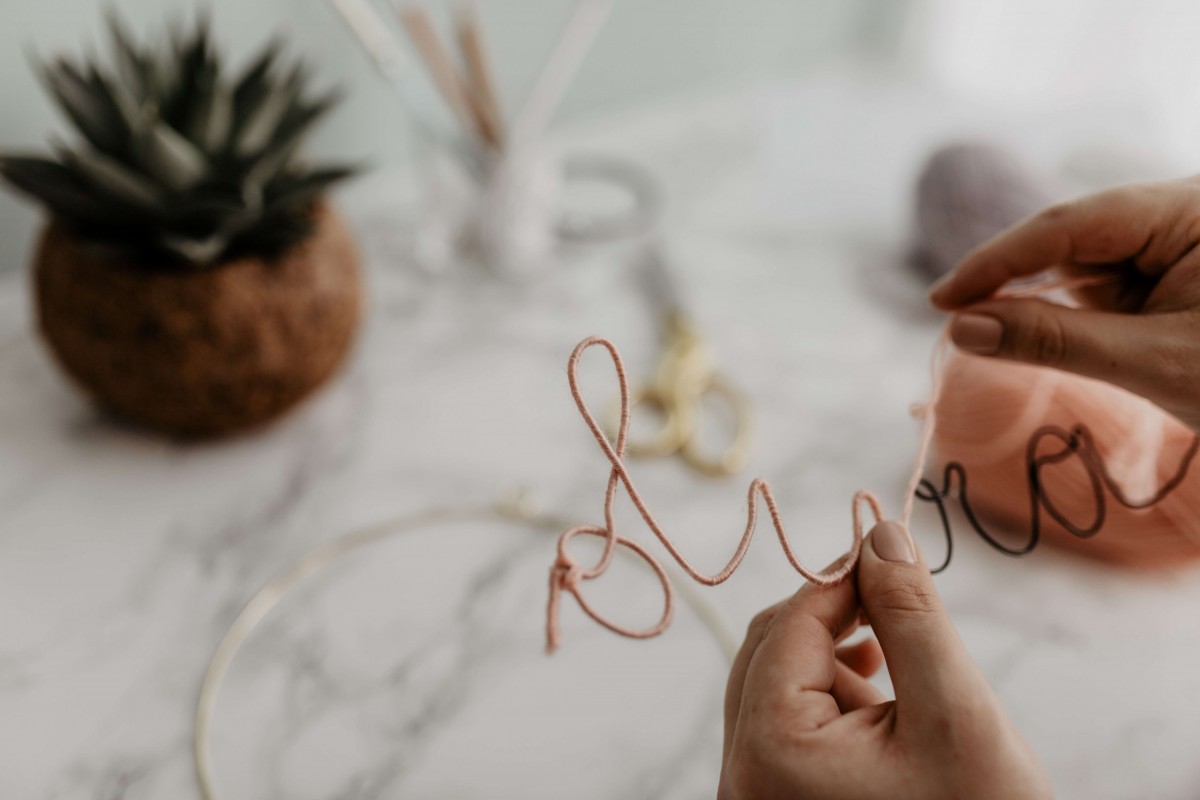
This is the most time-consuming part. The wool needs to be wrapped around the wire. Start with the first letter using a drop of glue from the glue gun and then stick the wool onto the glue. Then start to wrap the wool around the wire.
Tip: Don’t worry if the wire does not stay in position whilst you’re winding the wool around. Keep the template until you are finished so that, when you’re done, you can put everything back in place again.
Step 4:
Before you attach the lettering to the decorative metal ring, you will need some pom-poms. It is easy to make these yourself. You just need a fork, some scissors and wool.
- Cut a piece of the wool that measures about 5 cm and place it in the middle of the fork so that you can hold half of it with your thumb (see photo) and the other half hangs down on the lower side.
- Now wrap the yarn around the fork. When you have done this, tie a knot in the middle with the strand you left hanging down before.
- Now both sides are cut open.
- 4. This is what the finished pom-pom looks like. You can give the pom-pom a haircut if some strands are longer than others.
Now you need to make two pom-poms in each colour.
Step 5:
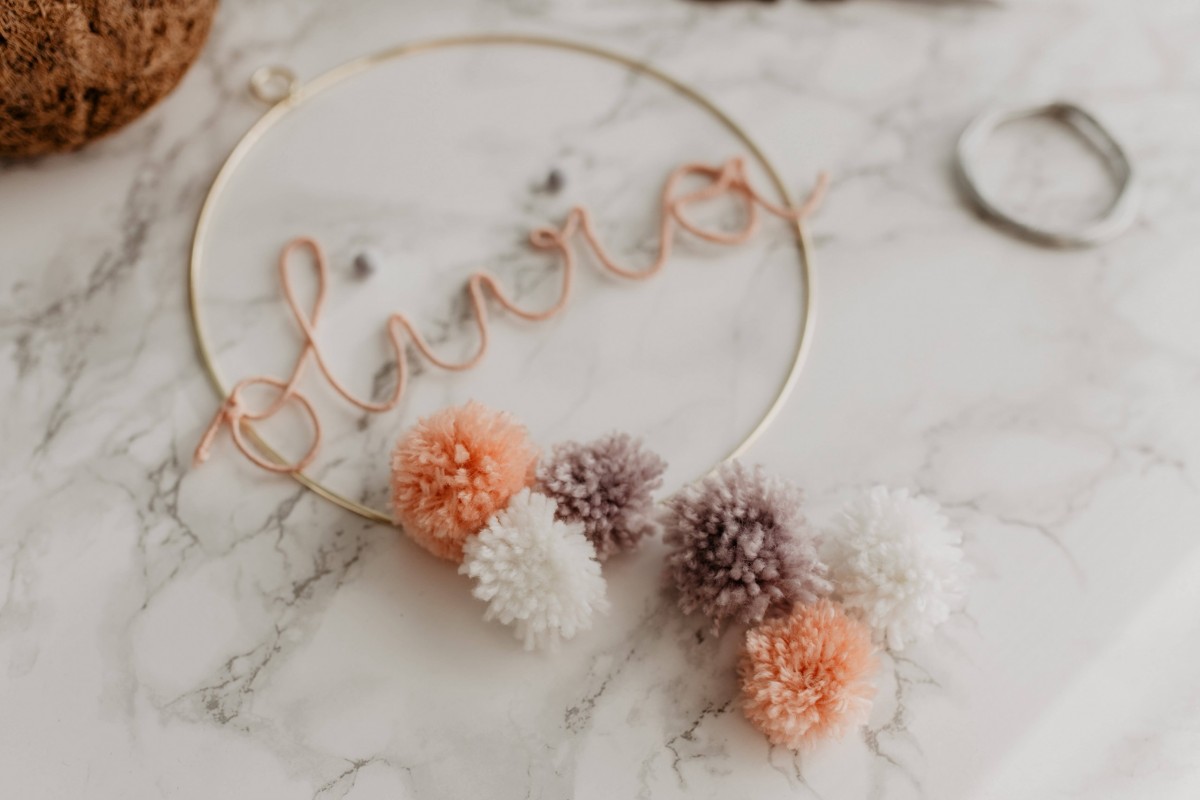
Finally, attach the lettering and the pom-poms to the decorative metal ring. We need the thin craft wire to do this. Using the craft wire, attach the first and last letter of the name to the metal ring. You also use the craft wire to secure the pom-poms in place.
Tip: For the dot on the letter “i”, I used small felt pom-poms which I secured in place with transparent nylon thread. Then it looks like they’re floating in the air.

The personalised name circle is ready! It is really easy to make… you just some time, patience and dexterity. Now you can hang it up in your room or make someone smile by giving it to them as a gift.
We hope you really enjoy making it!

